It’s been a while since you last configured a Cisco switch, and now it’s time to bring a brand-new one online. As usual, you grab your console cable, plug it in, and expect to start with a few familiar commands like:
|
1 2 3 4 5 |
conf t hostname SW-Core interface vlan 1 ip address 192.168.1.10 255.255.255.0 no shut |
But this time, things don’t go as planned. 😅
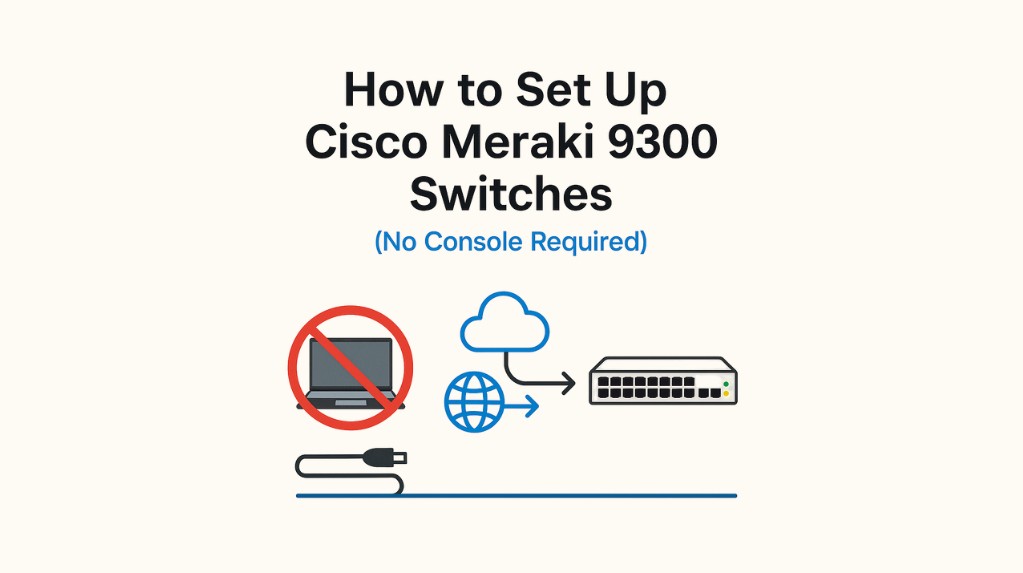
Instead of the classic CLI environment you’re used to, you quickly realize that these new Cisco Meraki 9300 switches work entirely differently. There’s no manual IP assignment to the management VLAN, no quick console setup, and you can’t even get started without an internet connection!
This is where the real difference between traditional and cloud-managed switching becomes clear. In the next section, we’ll explore how these devices are designed to work and why, instead of local CLI commands, you’ll need to manage everything through the Meraki Dashboard.
Cisco’s new Meraki Cloud-Managed Switches (such as the Catalyst 9300-M series) have changed how we deploy enterprise switching. Unlike traditional Cisco Catalyst switches, these devices don’t rely on a console cable and manual CLI configuration to get started.
Instead, the process is cloud-first: plug them in, claim them in your Meraki Dashboard, and manage everything remotely.
In this article, I’ll walk you through the process, share tips for a smooth deployment, and point out where things differ from classic Catalyst setups.
🔹 Key Differences from Traditional Cisco Switches
Traditionally, when setting up a Catalyst switch, you’d:
-
Connect via console cable.
-
Enter setup mode or run CLI commands.
-
Assign a management IP, default gateway, and VLAN.
-
Save and apply the configuration locally.
With Meraki 9300 Cloud-Managed Switches:
-
No console setup required ✅
-
DHCP client enabled by default ✅
-
Device pulls configuration directly from the Meraki Cloud ✅
-
Management happens via dashboard.meraki.com, not through local CLI ✅

🔹 Step-by-Step Setup Guide
Step 1: Unbox and Connect
-
Mount the switch (rack or desktop).
-
Connect the uplink port to a network with DHCP + Internet access.
-
Power on the switch.
💡 Tip: If replacing an older Meraki switch, the Smart LED indicators help guide correct cabling.
Step 2: Automatic Software Update
When powered and connected:
-
The Power LED flashes green/white → software upgrade in progress.
-
Once connected to the Dashboard, the LED turns solid green/white.
🔎 LED Troubleshooting
-
Flashing orange: Switch has not checked in with Dashboard yet.
-
Solid orange: No internet/DHCP connectivity.
👉 At this stage, you do not need any console commands — the device handles its bootstrapping.
Step 3: Claim Your Device in the Dashboard
Go to:
|
1 |
http://dashboard.meraki.com |
-
Log in with your Meraki account.
-
If new to Meraki, click Create an Account.
-
Enter the Cloud ID (printed on the switch or in your order email).
📱 Alternative Method: Use the Meraki mobile app (iOS/Android) → scan the QR code on the switch.
Step 4: Configure Your Switch
Once claimed, go to:
|
1 |
Switch > Configure |
From here, you can set up:
-
VLANs
-
Trunk/access ports
-
STP settings
-
PoE policies
-
QoS profiles
All done remotely from the Dashboard.
Useful Dashboard Commands & Tips
While you can’t run local CLI commands like show run or conf t, you can still manage and troubleshoot effectively via Dashboard:
✅ Check Port Status
|
1 |
Switch > Monitor > Ports |
✅ Run Cable Test (remote diagnostics)
|
1 |
Switch > Tools > Cable Test |
✅ Ping & Traceroute from the Switch
|
1 2 |
Switch > Tools > Ping Switch > Tools > Traceroute |
✅ Schedule Firmware Upgrades
|
1 |
Organization > Firmware Upgrades |
💡 Pro Tip: Configure a maintenance window for upgrades to avoid downtime during business hours.
🔹 Real-World Deployment Tips
-
DHCP Requirement
Make sure your uplink provides DHCP + Internet. Without it, the switch cannot connect to the cloud. -
Firewall Rules
Allow outbound connections to Meraki cloud servers (TCP/UDP 7734, 7752, 9350–9351, and others listed in Cisco docs). -
No Local Config Backup
Configurations are stored in the cloud, not locally. Plan redundancy accordingly. -
Console Port Still Exists — But Limited
You can connect via console in recovery mode, but it’s mainly for troubleshooting, not daily config.
🔹 Final Thoughts
Cisco Meraki 9300 Cloud-Managed Switches offer a radically simplified deployment model:
-
Unbox → Plug in → Cloud sync → Configure remotely.
The shift may initially feel strange for engineers used to traditional CLI workflows. But once you embrace the Meraki Dashboard, deployments become faster, consistent, and scalable across multiple sites.
If you’re rolling out a new network or refreshing old hardware, the Meraki 9300 series is worth considering for its cloud-first approach and zero-touch provisioning.